Having the proper saddle height & width is one of the most important position settings on a bike. Changing the height just a few centimeters can have a huge impact on your joints and your overall performance on the bike. This is especially important for maximum transfer of power and pedaling efficiency. However, the seat height won’t be the same for all forms of cycling. We will discuss in detail the saddle height for road and mountain biking.
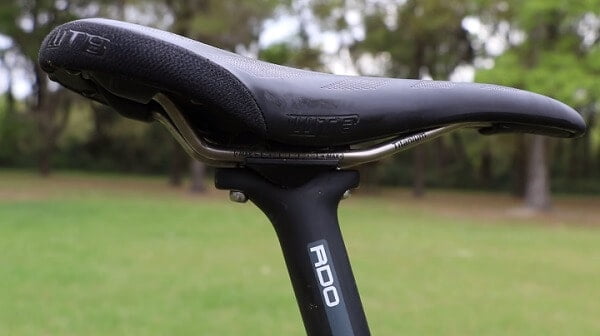
Bike saddle
Difference between road and MTB saddle heights
Road and mountain biking are two very different sports and have different demands in terms of performance metrics. Road cycling requires high pedal efficiency, a lot of power, and good aerodynamics. Therefore, the saddle height of road bikes is set to optimize these parameters while still allowing you to maintain healthy knees. In mountain biking, however, you want to maximize maneuverability and control. Additionally, there are various subcategories of mountain biking, each of which requires different saddle heights. Road saddle heights are typically higher than mountain saddle heights, but as we will see there is a lot more to it than just this.
1. Road bike saddle height
Road cyclists almost always have their seats pretty high up. This is because, the higher your seat the more pedal power you can produce and the more efficiently you can produce it, within a certain limit of course. Too high of a saddle position has its downsides as we’ll see later. Most road cyclists, even amateurs, can average around 13 to 15 mph quite easily. At speeds over 9 mph, the main force opposing the motion of the bike becomes the aerodynamic drag. Hence, racers actually set their saddles slightly lower than the position for maximum power. This reduces their profile and helps to cut down some of the air resistance.
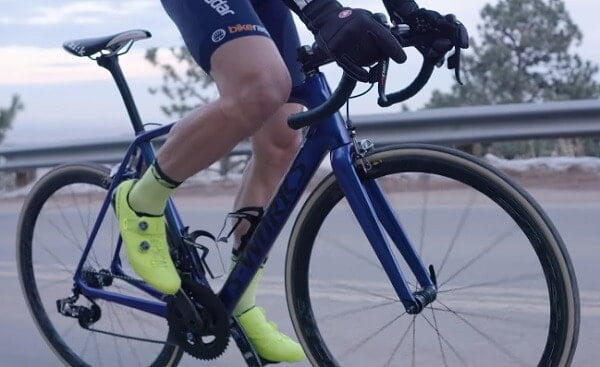
Road bike
2. Saddle heights for different MTB disciplines
Mountain bike saddle heights can vary a lot depending on the type of terrain being used. Some mountain biking forms use a similar seat positioning while others do not, and distinguishing between them is very important. The following table will give you a general guideline:-
| MTB discipline | Saddle height |
|---|---|
| XC | Same height as road bikes (marginally higher sometimes) |
| Trail/Singletrack/Enduro | Ranges from several inches lower to an inch higher than road saddles depending on the terrain (best to use a dropper post) |
| Downhill/Gravity | Saddle is at the bottom position, height does not matter much in this case |
Here is our ultimate guide on mountain bike saddle width.
3. Cross-country (XC) saddle height
Just like road, XC is an endurance-based form of cycling. Even though there are many types of terrain an XC rider might encounter such as fire roads, doubletrack, wide mountain paths, mining roads, etc., all of these are more or less flat and less technical trails. This is why it makes sense to have an XC bike saddle at around the same height as a road bike saddle. For those who enjoy both forms of cycling, this is an added advantage.
➥ Here are some XC or road bike saddles that you can use for long rides.

Cross country riding
Shoes, pedals, and crank-arm length
Before you go ahead and set the saddle height for both your road and XC mountain bike at the same height, there are some things you should consider. The thickness of the cycling shoes and pedals, whether the pedals are flat or clipless, and even the length of the crank-arm all matter. These things can change the relative saddle height, even though the saddle height seems the same.
Technical trail riding
One of the most popular forms of mountain biking, trail riding mostly involves narrow, technical, and sometimes steep single-track paths. For this form of cycling, the saddle must be lower than for road and XC riders. This lower position offers more control, balance, and maneuverability. Exactly how much lower depends a lot on the terrain. Most trail riders will encounter a wide variety of terrain. Ideally, for riding single-track, you would want to use a dropper post which allows you to vary the saddle height on the go using a trigger.
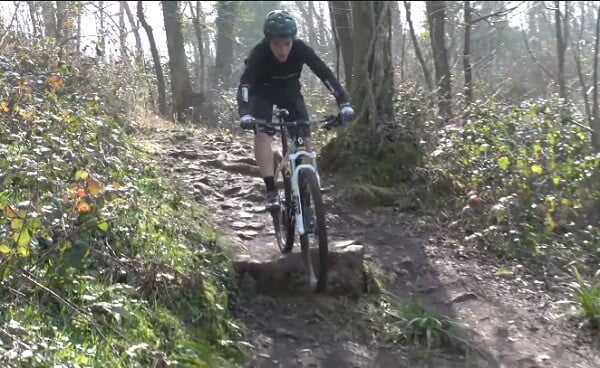
Trail riding
Use of a dropper post
Dropper posts are a must-have for the majority of mountain bikers. They offer a lot of versatility while tackling a variety of terrain. When using a dropper post, there are three positions that you should keep in mind:-
- The top position, which is equal to or higher than road saddle height. This is used for flat sections or when climbing as it delivers maximum efficiency and power.
- A middle position, which is a couple of inches lower than road saddle height. This is used for more technical sections/climbs and offers improved control and maneuverability.
- The bottom position, which is the lowest possible setting. This is for jumping, descending, and cornering where you want the seat to stay out of the way.
Downhill riding
Downhill riders don’t really use their pedals too much since gravity does the work for them. Not even to get to the starting position for which a lift or shuttle is used. For this or any other form of gravity mountain biking, stability and control are key. Additionally, riders rarely sit down on their seats. Consequently, the saddle height is not that important and the seat is kept at the bottom position.
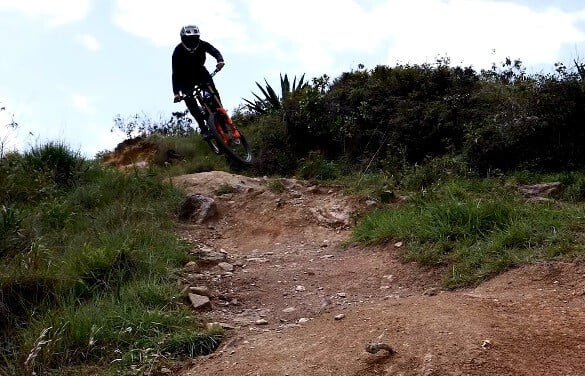
Downhill riding
Proper and improper saddle height
Cycling involves a highly repetitive motion. Therefore the correct saddle height is absolutely crucial if you want to be able to cycle throughout your life. An improper position can lead to pain and/or injury in the knees and other parts of the lower body. For nearly all forms of cycling, the saddle height must be set so that the knee angle is between 25 and 40 degrees.
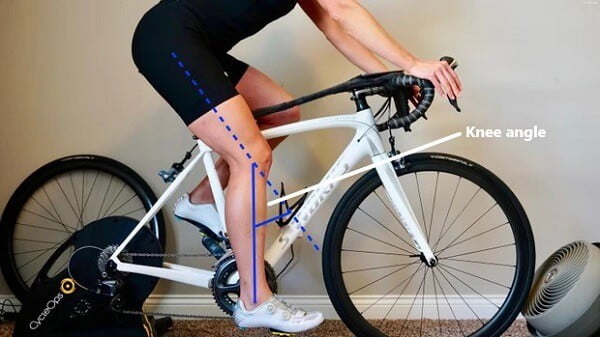
Knee angle
Image Source: bikeradar.com
Saddle too low vs too high
If the saddle is too low, the knee angle becomes too large. This causes a lot of compression of the knee joint and overuse of the quadricep muscles, especially at the top of the pedal stroke. A common indicator of the seat being too low is anterior knee pain. Anything more than 44° is very harmful to the knees in the long run. Moreover, efficiency is greatly decreased and you get little power at the pedals.
When the saddle is too high, you will experience an overextension of the knees which leads to posterior knee pain. Since you have to reach down at the bottom of the stroke, your hips will rock side-to-side causing chafing, saddle soreness, and loss of energy. Also, you won’t be able to put in as much power when your muscles are stretched too much.
Optimal and preferred saddle height
Most studies conducted in the lab have found that the optimal knee angle is 25° for maximizing performance and minimizing injury. This angle corresponds to the “optimal saddle height”. In this position, your quads, hamstrings, glutes, and tibialis anterior (shin) all have a greater and more forceful activation. Additionally, the knees and hips are in-phase and there is a lot less strain on the knee joint. Keep in mind that this is only optimal for certain forms of cycling such as road and XC.
However, this is not the “preferred saddle height” of most riders. In fact, professional road cyclists keep the seat lower. The average knee angle ranges from 30 to 40 degrees. So why is this? Well, the optimal height is only theoretical and is determined by cycling on a treadmill or a stationary bike. This does not account for aerodynamics which is a major factor in high-speed road cycling. The lower height that riders prefer reduces the frontal area and hence, the drag force as well. Another factor that prevents riders from setting the seat high is their hamstring flexibility. Tight hamstrings don’t allow for low knee angles without discomfort and possible injury.
Frequently Asked Questions
Q1. How can you determine the correct saddle height?
Ans.: The correct saddle can be determined in a few different ways. The quickest way is the heel method. Basically, you sit on your bike and put the pedal on one side to the lowest position. While in this position, your heel should just touch the top of the pedal without you having to slide your hips to one side. Another way to find the right saddle height is the 109% method. This is more accurate and can be done easily at home. The following video provides a step-by-step guide to how this method works.
Remember that this is for road and XC cycling. For other forms of mountain biking, the seat should be lower and a dropper post should be used.
Q2. Should your leg fully extend on a bike?
Ans.: No, it should not. For the best performance, the legs should reach about 80 to 90 percent of full leg extension. Pedaling for a long time with full extension can cause posterior knee pain to develop. This also reduces the maximum amount of power that you can apply on the pedals.
Q3. What is the proper fore/aft position for your bike saddle?
Ans.: Not only the height but the horizontal position of the saddle is also very important. There is a simple way to properly adjust the fore/aft position of the saddle. Keep your right foot along with the pedal at the 3 o’clock position. Check to see if the center of your knee is vertically above the pedal axis. If not then adjust the seat until it is.
➥ Read our complete guide on proper saddle fitting.
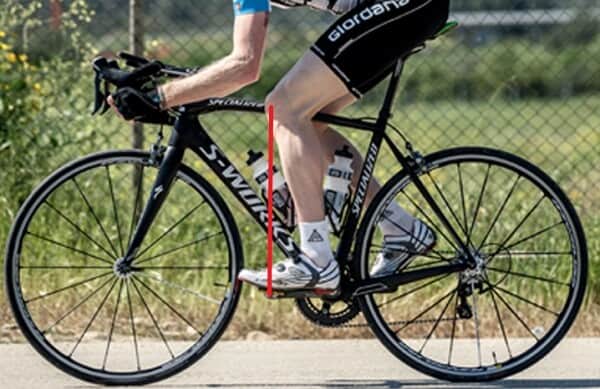
Knee over pedal
Image Source: cyclingweekly.com
Conclusion
You probably have a very good idea about bike saddle height by now. Finding the right saddle height can take a bit of time. Just be sure to keep adjusting the seat now and then and you’ll get it right soon enough. If all of this information seems intimidating, then just head to your nearest bike shop and they will help you out. They can help you understand and find the perfect saddle height for you.
